'
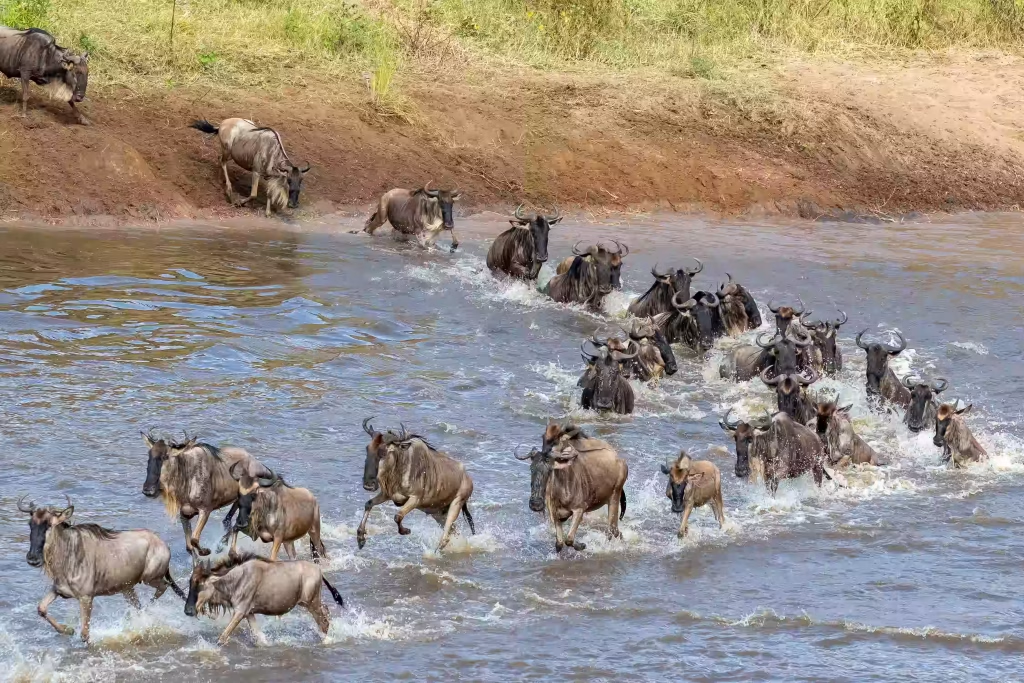
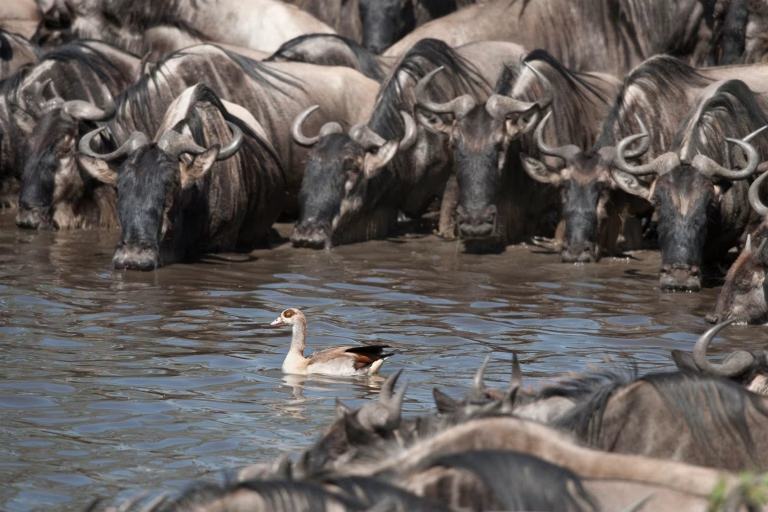 4 guidesThe Great MigrationWhere the herds are month by month, river crossings, calving and the Grumeti.
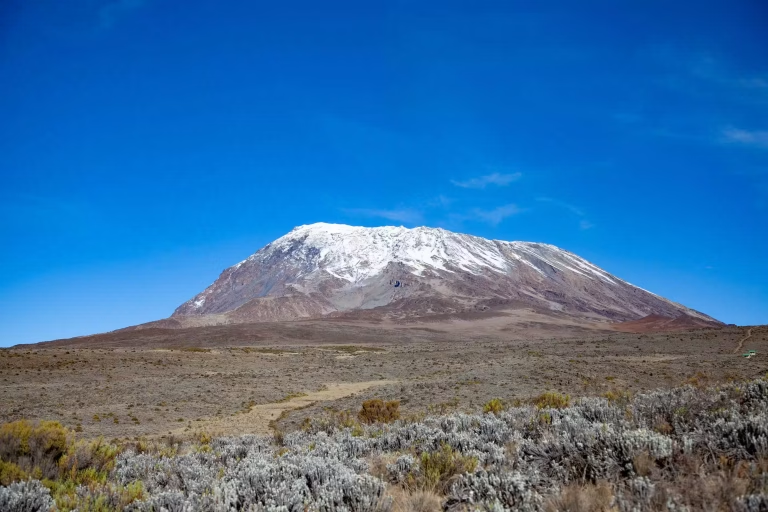 6 guidesKilimanjaroChoosing a route, altitude, summit night, porters and when to climb.
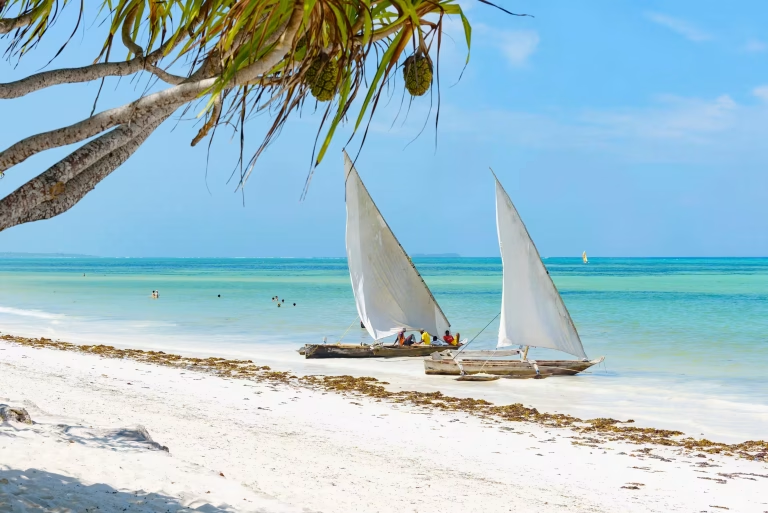 4 guidesZanzibar & the coastHow many nights, Pemba or Zanzibar, Mafia’s whale sharks and Stone Town.
 Exclusive Offers
Enquire
Start Planning
Chat on WhatsApp
Exclusive Offers
Enquire
Start Planning
Chat on WhatsApp
Safaris
Ten parks, three circuits.
The north for its icons, the south for its space, the west for its forests.
Northern circuit The icons
Serengeti National ParkMigration · Jun–Oct
Ngorongoro CraterYear-round
Tarangire — baobab & elephantsElephants · Jul–Oct
Lake ManyaraBirding · Nov–Feb
Southern circuit The space
Ruaha — Tanzania’s largest parkPredators · Jun–Oct
Nyerere — boat & walking safarisBoat & walking · Jun–Oct
Mikumi — the south you can drive toNear Dar · Jun–Oct
Western circuit The forests
Mahale — chimpanzees by the lakeChimps · Jun–Oct
Gombe — Jane Goodall’s parkPrimates · Jul–Oct
Rubondo — island forest, Lake VictoriaChimps · Jun–Aug
HubAll safari plans & itineraries21 plans →
Coast & islands
Where the trip lands.
Four very different stretches of Swahili coast. Most give it four nights; we would argue for six.
Unguja · UNESCOStone TownCoral-rag alleys and carved doors.
Unguja · northNungwi & KendwaThe swimmable end, and the sunset side.
Unguja · eastPaje & JambianiKitesurfing water and a quieter shore.
Mnemba & MisaliCoral Reef ToursTurtles and reef sharks in protected water.
PembaPemba IslandWall diving into deep channel.
Mafia · Oct–MarMafia IslandWhale sharks in the channel.
Kilimanjaro
The roof of Africa.
Route choice decides your summit odds far more than fitness does.
Our recommendation
Lemosho Route
8 days · western approach
Eight days from the west, with time to adjust built in — a climb-high day at Lava Tower, and quiet first days on the Shira plateau.
View the route →
About us
The people behind the journey.
A Tanzanian team, based in Arusha, guiding the trips we sell.
About Active Kili Top
Who we are, how we guide, and why we work the way we do.
→
Contact us
The Arusha office — phone, WhatsApp or email, answered by a person.
→
FAQs
Visas, vaccinations, tipping, luggage and what a day actually looks like.
→
The Great Migration
Where the herds are, month by month, and when to be where.
→
Privacy policy
What we collect, why we collect it, and how long we keep it.
→
Terms & conditions
Booking, payment, cancellation and the things worth reading twice.
→
Cookie policy
The cookies this site sets, and how to refuse them.
→
Journal
Thirty-one guides, written in Arusha.
The questions we answer every week, written down properly once.
4 guidesThe Great MigrationWhere the herds are month by month, river crossings, calving and the Grumeti.
6 guidesKilimanjaroChoosing a route, altitude, summit night, porters and when to climb.
4 guidesZanzibar & the coastHow many nights, Pemba or Zanzibar, Mafia’s whale sharks and Stone Town.
More subjects
Wildlife 4
Practical 8
Choosing a trip 5
Start with
Which Kilimanjaro route?
What to pack
All 31 guides →
Experience
How you see it.
Any itinerary can be shaped around the way you actually want to travel.
Serengeti · sunriseHot Air BalloonFirst light over the plains, then breakfast on the grass.
Ruaha · NyerereWalking Safari
Maasai · HadzabeCultural Encounters
All parksPhotography Safari
ConcessionsNight Game Drives
Nov–FebBirding Focused
Nyerere · RufijiBoat Safaris
Arusha · MomellaCanoeing
Bush stripsPrivate Flying
Exclusive offers
Honest reasons a trip costs less.
Eight of them, and not one is a countdown clock.
The Early WindowNew
Confirm early and we pass the camps’ own early rate straight on.
→
Short NoticeNew
Space that has just opened, at what it actually costs us.
→
The Honeymoon JourneyNew
Quiet camps, a private crater lodge, and a stretch of Pemba.
→
Season Ahead
Lock next year’s trip at this year’s rates.
→
The Long Route
Stay longer in fewer places and the per-night cost falls.
→
Travelling Alone
No single supplement on selected departures.
→
The Whole Family
Shorter drives, family tents, guides who like questions.
→
A Gift of Tanzania
A journey given, rather than a voucher sent.
→
Day trips
Out and back before dark.
For the days either side of a climb, or a first taste of Tanzania before the long safari begins. All from Arusha or Moshi.
Half day 3–5 hours
Full day 8–12 hours
Northern Circuit
Serengeti
Ngorongoro Crater
Tarangire
Lake Manyara
Arusha National Park
Southern & Western
Ruaha
Nyerere (Selous)
Mikumi
Mahale Mountains
Gombe Stream
Rubondo Island
Coast & Mountains
Saadani National Park
Lushoto & Usambara
Safari plans · The north
The Great Midrange Journey — 7 days
Tarangire, Ngorongoro & Manyara Express — 3 days
Midrange Best of Tanzania — 5 days
Serengeti Fly-in — 4 days
Family Northern Circuit — 8 days
Manyara, Lake Eyasi & the Crater — 5 days
Mara River Crossings — 8 days
Ndutu Calving Season — 6 days
Photographic Northern Circuit — 9 days
Birding the North — 7 days
Walking & Canoeing the North — 6 days
Safari plans · The south
Ruaha & Nyerere, the Quiet Parks — 6 days
Nyerere by Boat and on Foot — 4 days
Ruaha’s Predators — 5 days
Mikumi & Udzungwa by Road — 4 days
Safari plans · The west
Mahale Chimpanzees — 6 days
Gombe Chimpanzees — 4 days
Safari plans · The island
Zanzibar, After the Safari — 5 days
Safari plans · More than one
Honeymoon: Serengeti Balloon & Zanzibar — 9 days
Serengeti & Zanzibar, Bush and Beach — 10 days
Grand Tanzania, North and South — 12 days
Browse All
All Destinations
All Safari Plans
Zanzibar Islands
Stone Town
Nungwi & Kendwa
Paje & Jambiani
Coral Reef Tours
Pemba Island
Mafia Island
Browse All
Hub Zanzibar
Plan Safari + Zanzibar
Lake Duluti canoe & forest walk
Materuni Waterfall & coffee farm
Chemka Hot Springs
Arusha city & Cultural Heritage Centre
Arusha National Park & Momella lakes
Lake Manyara National Park
Tarangire National Park
Ngorongoro Crater
Maasai village & the Monduli hills
Momella waterfall hike, Mount Meru
Browse All
All day trips
The company
About Active Kili Top
Contact us
FAQs
Reading
The Great Migration
Legal
Privacy policy
Terms & conditions
Cookie policy
Guides by subject
All 31 guides
The Great Migration
Wildlife
Kilimanjaro
Zanzibar & the coast
Practical
Choosing a trip